How Can We Help?
Connection Manager
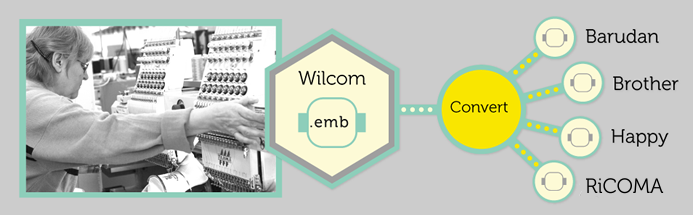
Do you work with a Barudan, Brother, Happy or RiCOMA embroidery machine? Connection Manager allows for smoother workflows when sending designs to your machine.
EmbroideryStudio Connection Manager
Connection Manager:
- Lets you set up connections for each embroidery machine you send designs to
- In one click, saves the open file in the correct stitch file format, and
- Places the stitch file in the network location read by the machine
What machines will this work for?
Wilcom’s flexible method of embroidery machine connection will work if:
- Your machine appears as ‘Removable Media’ on your computer
- You use a third-party application to connect to the machine and require files to be placed in a specific network location
Basic workflow
The basic workflow is as follows:
1. Set up a machine connection.
- Each machine has a unique name and ‘Quick Access’ button.
- Each machine can have a unique folder to which designs can be sent so they can be accessed from the machine control panel or third-party machine connection software.
2. Create a design.
3. Click the Quick Access button for the specific machine.
4. The design is sent to the specified folder.
5. Using the machine controller or third-party connection software, access the design from the network or PC folder.
6. Load or send the design.
7. Stitch the design on the machine.
Sending a design for the first time
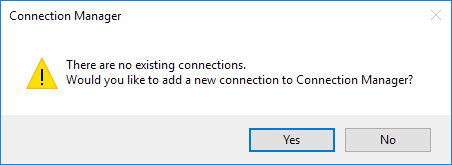
1. Click the Connection Manager icon on the Standard toolbar
If no connections currently exist, the message appears:
The Connection Settings dialog opens.
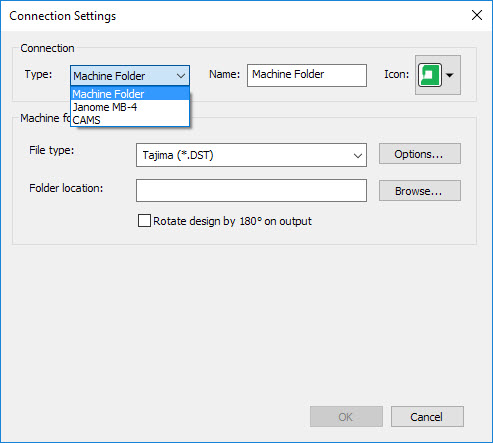
3. Select the connection type. Choose from:
- Machine folder – e.g. Barudan DFS, HappyLink/LAN, Brother PR series and so on
- Janome MB-4
- CAMS (rhinestone placement machine)
4. Enter a unique machine name. This name identifies the Quick Access button.
5. Select the file type required by the machine.
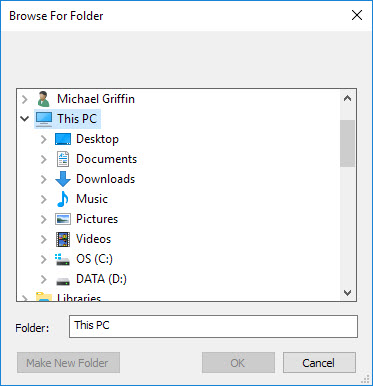
6. Enter or browse to a file location on the network or the PC
7. Click OK when complete.
The new machine will appear as a Quick Access button on the Standard toolbar
![]()
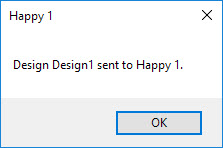
8. Click Send to send the currently open design to the specified machine folder.
A confirmation message is displayed.
Setting up additional connections
1. Click the Connection Manager icon on the Standard toolbar.
![]()
Alternatively, select Setup > Connection Manager Setup.
If a connection already exists, the Send to Connection Manager dialog opens.

2. Select Setup…
The Connection Manager Setup dialog opens.
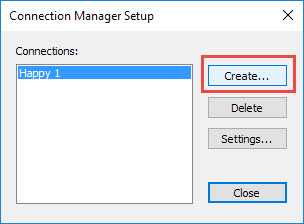
3. Click Create.
The Connection Settings dialog opens.
4. Repeat steps outlined above to set up another machine connection.
As more machines are created, more quick access buttons are added with unique colors for each.
![]()
A single click on a machine quick access button will send the current design in the right file format to the predefined location for the selected machine.